


Encountering a flat tire on the roadside can be an unexpected and stressful experience for any driver. Whether you’re embarking on a long road trip or simply running errands in your neighborhood, knowing how to safely and effectively handle a flat tire is an essential skill. This guide will walk you through the necessary steps to repair your tire, ensuring that you prioritize safety while minimizing the inconvenience of your situation.
The first step in addressing a flat tire is to assess the situation carefully. Before attempting any repairs, it’s crucial to ensure that you are safely parked away from traffic. If possible, pull over to a level surface and turn on your hazard lights to alert other drivers. Once you have a secure environment, you can begin to tackle the task at hand, focusing on the specific tools and methods required to fix your flat tire.
Understanding the proper techniques for tire repair not only enhances your confidence but also saves you time and effort. In the following sections, we will detail the essential tools you need and provide a step-by-step approach to efficiently fixing a flat tire on the roadside, allowing you to get back on the road safely and promptly.
Choosing the Right Location for Tire Repair
When dealing with a flat tire, selecting the right location for repair is crucial for your safety and efficiency. The ideal spot should provide adequate space and safety from traffic.
- Roadside Safety: Ensure you pull over to a flat area away from busy traffic. Look for a shoulder wide enough to work without endangering yourself.
- Lighting Conditions: Choose a location that is well-lit, especially if you are repairing your tire at night. Good visibility helps you see better and make the process smoother.
- Level Ground: A flat surface allows for proper lifting of the vehicle and makes it easier to replace or repair the tire. Avoid slopes and uneven terrain.
- Avoid Obstacles: Ensure the area is free from debris, other vehicles, or obstacles that could pose a danger while you work.
If you feel unsafe or are unable to find a suitable location, consider calling for help. Professional roadside assistance can provide the necessary support in a secure setting, ensuring that both you and your vehicle are safe during the repair process.
Tools and Materials Needed for a Successful Fix
To effectively repair a flat tire, it is essential to gather the right tools and materials. This preparation will help ensure a smooth and efficient repair process. Below is a list of items you will need:
1. Tire Repair Kit: A comprehensive tire repair kit typically includes a variety of items such as plugs, a reamer tool, and a insertion tool. These components will help you seal punctures effectively and restore your tire’s functionality.
2. Air Compressor or Tire Inflator: After applying the repair, it’s crucial to inflate the tire to the recommended pressure. An air compressor or a portable tire inflator is an essential tool that can assist you in achieving the correct tire pressure.
3. Wrench Set: A set of wrenches will be necessary for removing the tire from the rim if you need to inspect it or replace it entirely. Ensure you have the correct size to avoid damaging the nuts.
4. Jack: A reliable jack will help raise the vehicle to work on the flat tire safely. Opt for a model that is easy to use and can support your vehicle’s weight.
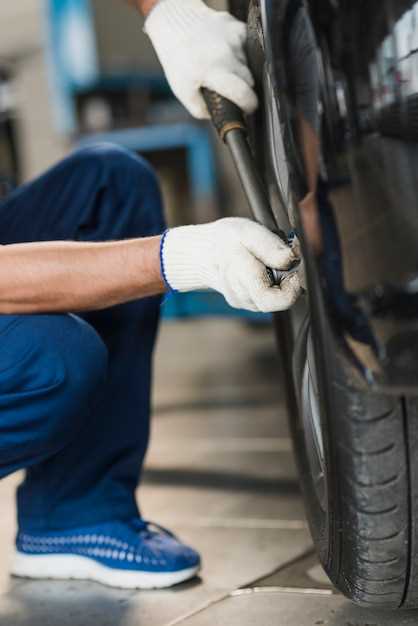
5. Safety Gear: Wearing safety gloves while handling tools and materials can help protect your hands from cuts and scrapes. Additionally, using safety glasses provides protection from debris during the repair process.
6. Tire Sealant (optional): For quick fixes, a tire sealant can temporarily seal small punctures. This can help you reach a service station for a more permanent solution.
Having the right tools and materials at your disposal will significantly aid in the successful repair of a flat tire. Being prepared ensures that you can address the situation promptly and safely.
Steps to Safely Change or Repair Your Tire
When you encounter a flat tire, the first step is to find a safe location to pull over. Look for a flat, stable surface away from traffic to ensure your safety while working on the tire.
Next, gather the tools you will need: a spare tire, a jack, a lug wrench, and a tire repair kit if you plan to patch the tire instead of replacing it. Having the right equipment on hand will help you efficiently address the problem.
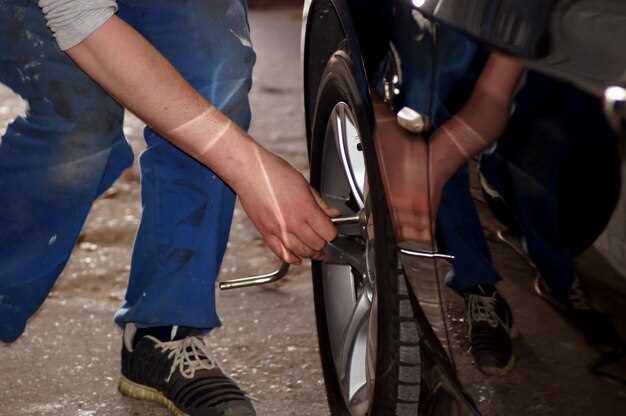
Before lifting the vehicle, loosen the lug nuts on the flat tire slightly, but do not remove them completely yet. This will prevent the wheel from spinning when the vehicle is raised. Ensure the jack is placed on a solid part of the vehicle frame and start lifting until the tire is elevated off the ground.
Once elevated, completely remove the loosened lug nuts and take off the flat tire. If you are repairing the tire, inspect it for punctures or damage. Use the tire repair kit to patch any holes, making sure to follow the manufacturer’s instructions carefully for the best results.
If you choose to replace the tire with a spare, align the spare tire with the wheel hub and hand-tighten the lug nuts onto the bolts. Lower the vehicle back to the ground gently, and then tighten the lug nuts in a star pattern to ensure even pressure is applied.
Finally, make sure to clean up your area and store away any tools or the flat tire. If you used a patch kit, monitor the repair for any leaks or issues over the next few days. Seek help if you are unsure about the repair process or if the damage is beyond simple fixes.

