Encountering a punctured tire can be a frustrating experience, especially when you’re far from a repair shop. Fortunately, this guide will walk you through the essential steps to efficiently fix a tire at home, saving both time and money. Knowing how to tackle a tire puncture can empower you in your ability to manage basic car maintenance.
Whether it’s a tiny nail or a sharp object that has caused the puncture, understanding the repair process is crucial. From gathering the right tools to applying the necessary patches, each phase is designed to ensure that your tire is safe and reliable for use once more. This article will provide clear, step-by-step instructions to help you navigate the repair process with confidence.
By following this comprehensive guide, you can turn a potentially stressful situation into a manageable task. With a few simple tools and a bit of patience, you’ll be able to restore your tire to its proper function and hit the road again without delay.
Assessing the Damage and Gathering Necessary Tools

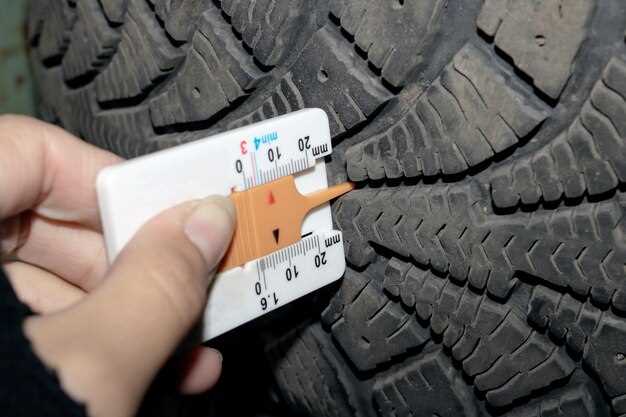
Before attempting to repair a punctured tire, it is essential to accurately assess the damage. Begin by inspecting the tire thoroughly; look for visible punctures, cracks, or any signs of air leakage. A small puncture can typically be repaired, but larger damages or sidewall issues may warrant a full tire replacement. Use a flashlight if necessary to illuminate any hidden areas that may not be easily visible.
Once the damage is assessed, it’s time to gather the necessary tools for the repair process. The following items are typically required for a successful DIY tire repair:
- Tire repair kit: This usually includes a reamer, insertion tool, and rubber plugs for sealing punctures.
- Air pump or compressor: To reinflate the tire once the repair is completed.
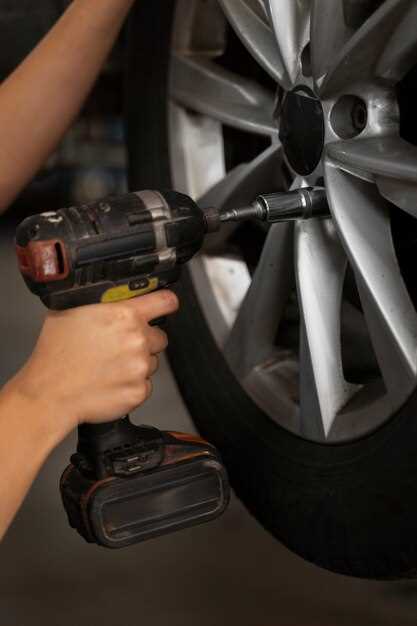
- Wrench or lug nut tool: To remove the tire from the wheel hub if needed.
- Utility knife: For trimming any damaged rubber from around the puncture.
- Soapy water: A simple solution to help identify small leaks when applied around the puncture site.
Having these tools ready will enable you to follow a guide for repairing the tire efficiently. Ensure that you work in a well-ventilated area and take necessary safety precautions before starting the repair process.
Performing the Repair: Plugging the Puncture

To successfully repair a punctured tire, follow these essential steps to plug the puncture effectively. Ensure you have the proper tools: a tire plug kit, a reamer tool, and some tire sealant if needed.
Begin by thoroughly inspecting the tire to locate the puncture. Mark the area for easy identification. Once found, remove the tire from the wheel if it is not already off the vehicle. This will allow for a more accessible repair process.
Next, use the reamer tool from your kit to clean and enlarge the puncture. Insert the reamer into the hole, twisting it gently to ensure smooth edges and a proper fit for the plug. This is a crucial step that prepares the puncture for sealing, ensuring the plug adheres effectively.
After preparing the puncture, take one of the rubber plugs from your kit. Insert it into the insertion tool, applying a bit of tire sealant if recommended by the kit instructions. Carefully push the plug into the puncture until about two-thirds of it is inside the tire. Pull the insertion tool straight out, leaving the plug snugly in place.
Once the plug is inserted, trim any excess material sticking out of the tire. This will help maintain the tire’s shape and avoid unnecessary wear during use. Afterward, re-inflate the tire to the manufacturer’s recommended pressure and inspect for leaks.
In conclusion, properly plugging a tire puncture is a manageable task when following this guide. Ensure that all steps are executed with attention to detail for a safe and effective repair.
Reinstalling the Tire and Ensuring Proper Inflation
After successfully repairing the puncture, the next step is to reinstall the tire onto the wheel. Start by aligning the tire with the rim, ensuring that it sits evenly. Carefully push the tire down onto the rim, applying steady pressure to avoid any pinching. If necessary, use a tire lever to help seat the tire, but be cautious not to damage the bead or the newly installed patch.
Once the tire is seated properly, it’s crucial to ensure proper inflation. Refer to the manufacturer’s recommendations for the correct tire pressure, usually found on a sticker inside the driver’s door or in the vehicle’s manual. Using a reliable tire pressure gauge, check the initial inflation level. If the reading is below the recommended pressure, inflate the tire gradually using an air compressor, checking the pressure frequently to avoid over-inflation.
After reaching the desired pressure, inspect the tire for any signs of leaks. You can do this by applying soapy water to the tire’s surface and observing for bubbles, which would indicate escaping air. If no leaks are found, ensure all lug nuts are tightened properly, as this secures the tire to the wheel assembly.
Finally, before taking your vehicle back on the road, take a short test drive to confirm stability and ensure there are no vibrations or unusual noises. This guide will help you restore your tire to proper condition and maintain safe driving practices.


