


Changing the engine oil in your vehicle is an essential maintenance task that ensures optimal performance and longevity of your engine. Fresh oil lubricates the engine components, reduces friction, and helps to keep the engine clean by suspending dirt and contaminants. Regular oil changes also improve fuel efficiency and minimize the risk of engine damage.
In this guide, we will walk you through the process of changing your engine oil step by step. Whether you’re a seasoned DIY enthusiast or a novice car owner, our clear instructions will help you successfully complete this task with confidence. Before you begin, it’s important to gather all the necessary tools and materials, including the right type and amount of oil, an oil filter, and equipment to safely dispose of the old oil.
By following these instructions, you will not only save money on service bills but also develop a deeper understanding of your vehicle’s engine. Regular oil changes are crucial for maintaining the health of your car and ensuring its reliability on the road. Let’s get started on this straightforward maintenance task that every car owner should master!
Choosing the Right Engine Oil for Your Vehicle
When it comes to changing your engine oil, selecting the correct type of oil is crucial for the longevity and performance of your vehicle. The right oil ensures proper lubrication, reduces friction, and enhances engine efficiency.
First, consult your vehicle’s owner manual, which provides specific recommendations regarding oil viscosity and type. Most vehicles require either conventional, synthetic, or a blend of both. Synthetic oil is often preferred for high-performance engines due to its superior protection and ability to withstand extreme temperatures.
Next, pay attention to the oil viscosity rating, typically indicated by numbers followed by the letter “W”, such as 5W-30. The first number represents the oil’s flow at low temperatures, while the second number indicates its performance at higher temperatures. Choosing the right viscosity ensures optimal engine performance across varying conditions.
Additionally, look for oils that meet the specific performance standards set by organizations such as the American Petroleum Institute (API) or the International Lubricant Standardization and Approval Committee (ILSAC). These standards ensure that the oil can adequately protect your engine under various operating conditions.
Lastly, consider your driving habits and environment. If you frequently drive in extreme conditions, such as heavy traffic or extreme weather, a high-quality synthetic oil might be the best choice for your engine. Regularly changing your oil according to the manufacturer’s recommendations is vital to maintain optimal engine health.
Tools and Supplies Needed for an Oil Change
Changing the engine oil is a straightforward task that requires specific tools and supplies to ensure everything goes smoothly. Below is a detailed list of what you will need.
1. Engine Oil: Choosing the right type of engine oil is crucial. Refer to your vehicle’s owner manual for the recommended oil viscosity and specifications. Make sure to buy enough oil to meet your engine’s capacity, typically between 4 to 8 quarts for most vehicles.
2. Oil Filter: Along with new oil, replacing the oil filter is essential. The filter traps contaminants and debris, ensuring only clean oil circulates in the engine. Verify the correct filter type using your vehicle’s make and model.
3. Oil Drain Pan: An oil drain pan is necessary for collecting old oil as it drains from the engine. Choose a pan that can hold more than the amount of oil your engine contains to avoid spills.
4. Wrench Set: You’ll need a wrench or ratchet set to remove the oil drain plug and the oil filter. A socket wrench is particularly useful for this purpose, as it offers better torque.
5. Funnel: A funnel is helpful for pouring new oil into the engine without making a mess. Make sure it fits the oil fill hole of your engine.
6. Rags or Paper Towels: Keep a supply of rags or paper towels handy for cleaning up any spills and wiping down surfaces. This will help maintain a clean workspace.
7. Optional: Oil Filter Wrench: If your oil filter is difficult to remove by hand, an oil filter wrench can provide the extra grip needed for easy removal.
8. Gloves and Safety Glasses: It’s wise to wear gloves to protect your hands from oil and debris. Safety glasses will shield your eyes from any splashes during the process.
By gathering these tools and supplies before starting your oil change, you can ensure a more efficient and mess-free experience. Always prioritize safety and follow your vehicle’s specifications for the best results.
Proper Techniques for Draining and Replacing Engine Oil
To ensure optimal performance and longevity of your vehicle’s engine, properly draining and replacing oil is essential. Begin by gathering the necessary tools: a wrench, an oil pan, a funnel, an oil filter wrench, and, of course, the correct type and amount of new engine oil. It’s advisable to work in a well-ventilated area and allow the engine to cool down to avoid burns.
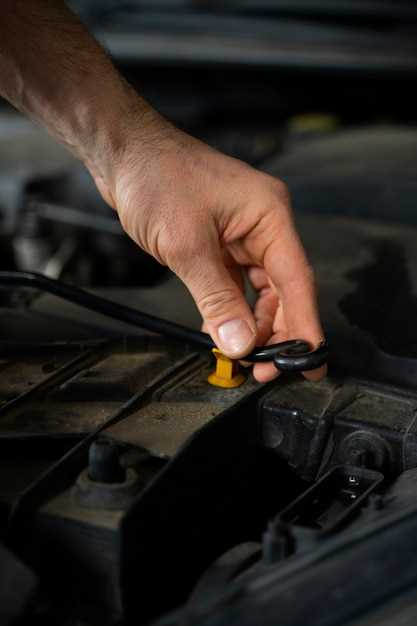
Start by locating the oil drain plug beneath the engine. Use a wrench to carefully loosen and remove the plug, ensuring that the oil pan is positioned to catch the draining oil. Allow the old oil to fully drain out, which could take several minutes. This step is crucial for eliminating contaminants that accumulate over time.
Once the oil has drained, replace the drain plug securely to prevent leaks. Next, focus on the oil filter. Using an oil filter wrench, remove the old filter. Before attaching the new filter, apply a small amount of new oil to the gasket. This practice helps create a proper seal and makes future removal easier.
Install the new oil filter by hand, making sure it is snug but not overtightened. After securing the filter, it’s time to add new engine oil. Using a funnel, pour in the recommended amount of fresh oil into the specified oil fill cap. Check your vehicle’s manual for the correct oil type and quantity.
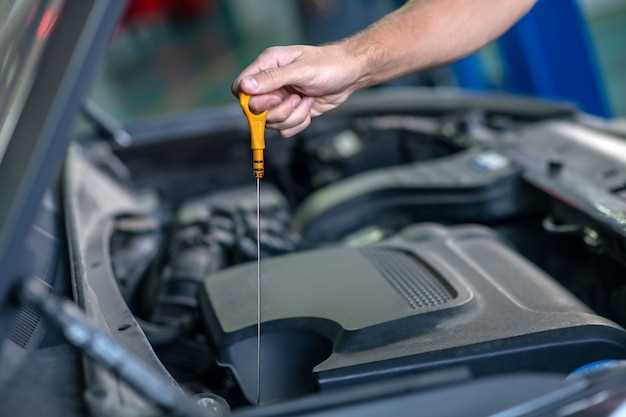
After adding oil, take a moment to run the engine for a few minutes. This allows the new oil to circulate and fill the oil filter. Keep an eye out for any leaks around the drain plug and oil filter during and after this process. Lastly, turn off the engine and wait a few minutes before checking the oil level with the dipstick. If necessary, add more oil to achieve the correct level.
Properly disposing of the old oil and filter is equally important. Many auto parts stores and recycling centers offer disposal services, ensuring that harmful contaminants are handled responsibly.

